You can quickly navigate to this page using
Learn more about all shortcuts here.
G then J.Learn more about all shortcuts here.
Open the Jobs view
From the left-hand navigation bar, select Jobs to open your job listings.
Start adding a new job
- Click the Add Job button in the top-right corner of the screen.
-
In the job creation pop-up, complete the two main selections:
- Role – The job title or position you are adding.
- Company – The client this job belongs to.
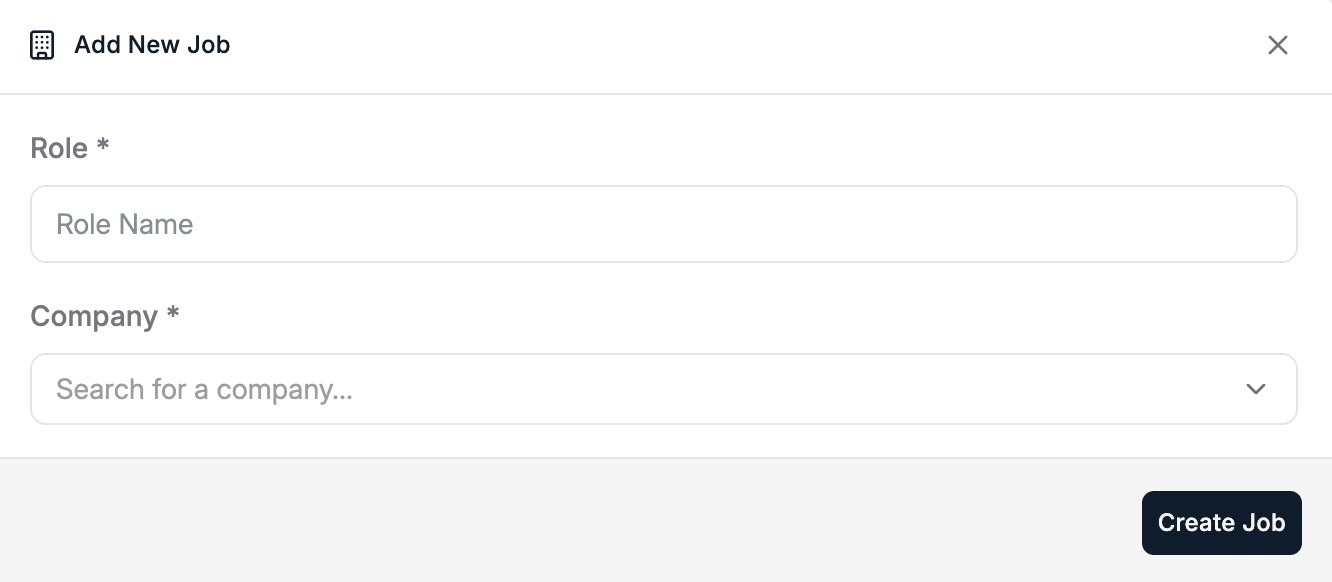
Create the job record
After selecting the role and client, click Create Job at the bottom-right of the pop-up window.Your new job will now be created and appear in the Jobs list with its own detail view.
Fill in job details
The job detail view contains multiple tabs for managing the role.
Start with the Details tab to define the sourcing criteria.You can add sourcing criteria by:
In the Details tab, you can also click Regenerate Details to:
Start with the Details tab to define the sourcing criteria.You can add sourcing criteria by:
- Uploading a file – e.g. job description document
- Uploading a note – from internal discussions or meetings
- Typing criteria manually – enter responsibilities, requirements, and qualifications directly
In the Details tab, you can also click Regenerate Details to:
- Summarize your existing job description into a concise format
- Automatically fill in missing information based on the provided content
- Rewrite the description for clarity or better candidate engagement
The AI generation feature uses your provided files, notes, and typed text as context to create a complete and polished job description.
Manage the job through its tabs
Once the job is created, you can manage it using the tabs inside the job record:Pipeline tab – Track candidates through each stage of your hiring process:
- Move candidates between stages (e.g. Applied → Shortlist → Interview → Offer)
- Update statuses and add notes
- View a ranked list of candidates from your database
- Add matched candidates directly into your pipeline
- Edit and publish to your chosen platforms
- Use AI to generate the job description:
- Automatically generate a fully-fledged vacancy description from your job details using Spott’s AI
- Review and qualify inbound applications
- Move them directly into the pipeline
- Assign follow-up actions to yourself or team members
- Set due dates and track completion
Each tab focuses on a different part of the recruitment workflow — from publishing the role, to sourcing candidates, to tracking applications and tasks.
Each job in Spott is linked to a specific client. Make sure the correct client is selected before creating the job to avoid rework.